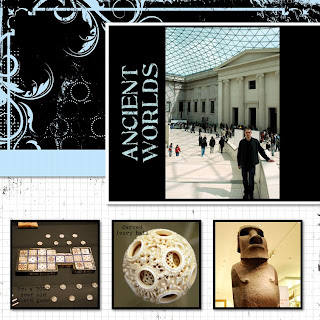
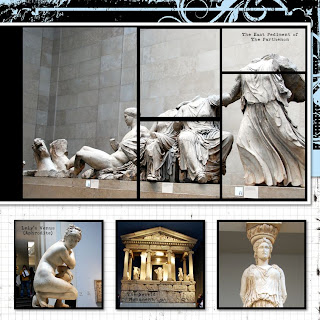
I thought I would show you a neat way to personalize your patterned paper. This is only one of many but it is very simple and very fast.
While I was creating my layout I was finding that I liked the look of the Black and White paper but I wanted to add more colour to my design. To fix this situation I changed the white on my paper to a sky blue that I pulled right from one of my photos. This adds a splash of colour and really draws the eye to the central photo on my layout.
For this technique I used the Creative Memories Black and White Power Palette. I find it works best because there are two distinct colours (black and white). The first step is to choose a paper you like (in my layout is is Paper number 4). Then go to your Format Ribbon and click on Filters. You will get a pop up that has a number of effects you can apply to your paper. Click on Threshold. I left my slider bar setting at 128 and just focused on my colours. There are two boxes with colour in them, a low colour and a high colour. You can now select any colour you want and make it your low colour or your high colour. Just click on the drop down menu beside each box and either select a predetermined colour or sample a colour from your layout. For my example I sampled a blue from one of my photos and made it the high colour. I left the low colour (black) alone. Now I have a blue and black paper instead of white and black with just a few simple clicks!


Recipe:
Paper- Creative Memories Black and White Power Palette
Fonts- SBC Distressed Typewriter and SBC Stone Inscription
Template- www.Pixels2Pages.net


