Hi Everyone,
As always I was cruising around the Creative Memories Website for project ideas. I love the projects they give with step by step instructions because it gives me a chance to try out new features on my Storybook Creator 3.0. I knew that SBC 3.0 had a custom cutting feature but I had never used it on a layout before and I certainly didn't know how to blend my image. I decided to try my hand at the layout posted here.
For the most part, the instructions given on the CM website were excellent. I did have difficulty figuring out how to get my cut out picture to blend with my background. I thought I would give you my step by step instructions here so between the two you can hopefully figure it out.
1) I added the entire picture of my daughter to the layout.
2) Then I changed it to Sepia by selecting the "color" ribbon and then selecting sepia.
3) To cut out the image of my daughter I selected the "cut & fill" ribbon, "Custom", "cut curved path". All you have to do now is click around the image that you want to cut out and you can adjust the points after to get it as close to your desired image as possible.
4) Once your image is cut out you need to soften around the edges to get it to blend in with the background paper. To do this make sure your image is highlighted then select the "format" ribbon, "filters", and then "soften edge" (middle filter, top row). You can then adjust the amount of softness you want by using the slider at the top of the window.
To finish off my page I added the embellishments as described in the tutorial.
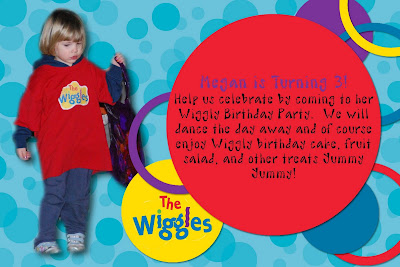
I also tried this technique for my daughter's birthday party invitations and was pleased with the results.

I hope this helps if you have any questions please don't hesitate to leave a comment or email and I will try to help out as much as I can.
Happy Crafting,
Cat


No comments:
Post a Comment