I have used photo masks on a few of my layouts and love the look of them but I have never actually created my own before. I was always told they were easy but really didn't believe anyone when they said that. You know what? They are easy! This mask probably took me about 15 minutes to make and I really didn't have a clue what I was doing.
I started out with an empty 4x6 landscape photo frame. I altered the photo frame using the Format Photos ribbon, then selecting "select", then "cutouts" from the drop down menu. I chose the "rustic" option. This gave my photo opening a soft wavy edge.
After that I added a few swirls, paint splatters, and a title. I put a really slight grey glow under the two swirls and I think I added the frosted glass filter to give a slightly grainy texture to them (can't remember now). Once I added all my layers I changed everything to black. Then I selected everything on the page and flattened it so I was one piece.
Now came the interesting part. I picked a number of pictures and tried inserting them into the photo mask. Some of them worked better than others. I had to play around with the cropping to get my photo where I wanted it. You have to remember your photo will always fill the mask starting with the top left corner of the photo so you will need to play with it to get your subject centered.

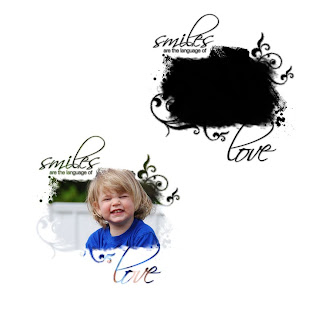
Here are some pictures of the mask without a photo and with a photo.

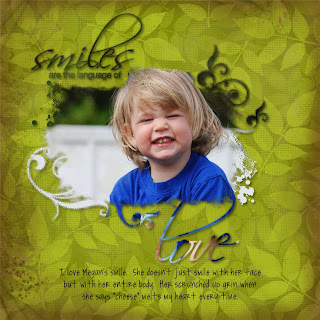
Here it is on a finished page.
If you any questions please don't hesitate to email me or leave a comment. I would love to help you. This mask was so much fun to do and I can't wait to try more.
Thanks for stopping by,
Cat


I love this mask! And, although you described exactly how you did it, I am so new at this that a lot of what you said makes no sense to me. :( If you don't mind sharing it, could you send me a copy? MsMathTeachr@verizon.net
ReplyDeleteIf you would rather keep it to yourself, I totally understand...it really is beautiful!
Have a good day,
Vicki
Hi Vicki,
ReplyDeleteI'm so glad you like it. I'm pretty proud of it myself. I don't mind sharing the mask at all. If you have any specific questions just email me and I would be happy to try and help you out. In the mean time I will send you both my smiles mask and enjoy nature. Perhaps once you see them in person it might make more sense.
Hi Catherine! I am attempting my first mask. Yikes! I'm not sure what I'm doing wrong. I put three items together-photo box, swirls, and a word. I selected all of them and flattened. Now I can't get a photo to go into it. The photo sits on top of everything and is huge. What am I doing wrong? Did I miss a step? Thanks in advance!!!! :)
ReplyDeleteSarah
Hi Sarah,
ReplyDeleteYou have done everything right! The last step to get your photo in the mask is to select your flattened mask then right click on your photo and select "fill the selected shape with photo" this will put your photo in the mask. If you wanted to fill your mask with paper you do the same thing, just select paper rather than a photo while your mask is highlighted.
I hope that helps. If not send me an email and I would be happy to give you more instructions.